So, you’ve noticed your guitar isn’t playing quite as smoothly as you’d like. Maybe the strings are too high, or you’re getting a frustrating buzz.
It might be time to adjust the truss rod. This is a key skill for any guitarist, and once you get the hang of it, you’ll wonder why you didn’t learn it sooner. Let’s walk through it together.
The Truss Rod In a Nutshell
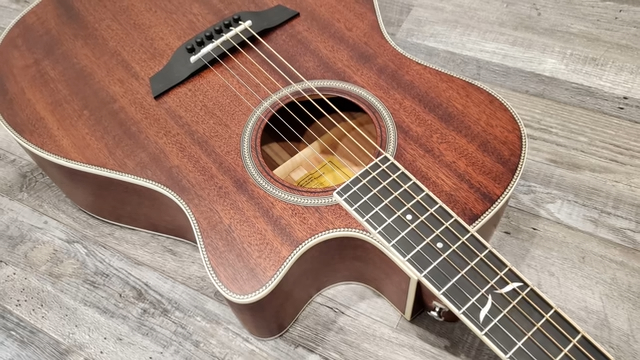
Imagine your guitar’s neck as a delicate balance beam, always in tension. The strings pull in one direction, and the truss rod—a metal rod inside the neck—pulls in the opposite. This balance keeps the neck straight, ensuring your guitar stays playable. Over time, though, this balance can shift.
The neck might start to bow forward, creating high action (the distance between the strings and the fretboard), or it could bow backward, leading to string buzzing. That’s where the truss rod comes in—it lets you tweak the neck back into shape.
Tools You’ll Need

Before jumping in, let’s gather a few essentials:
- Truss Rod Wrench: Your guitar likely came with one. It’s either an Allen wrench (hex key) or a socket wrench, depending on the model.
- Capo: Helps hold down the strings while you measure neck relief.
- Tuner: Always tune your guitar before making adjustments.
- Feeler Gauges: These measure the gap between the strings and the fretboard, crucial for precise adjustments.
Step 1: Tune Your Guitar
First things first, get your guitar in tune. Why? Because the string tension affects the neck’s shape. If you adjust the truss rod without tuning, your measurements won’t be accurate, and you could end up with more problems than you started with.
Step 2: Check the Neck Relief
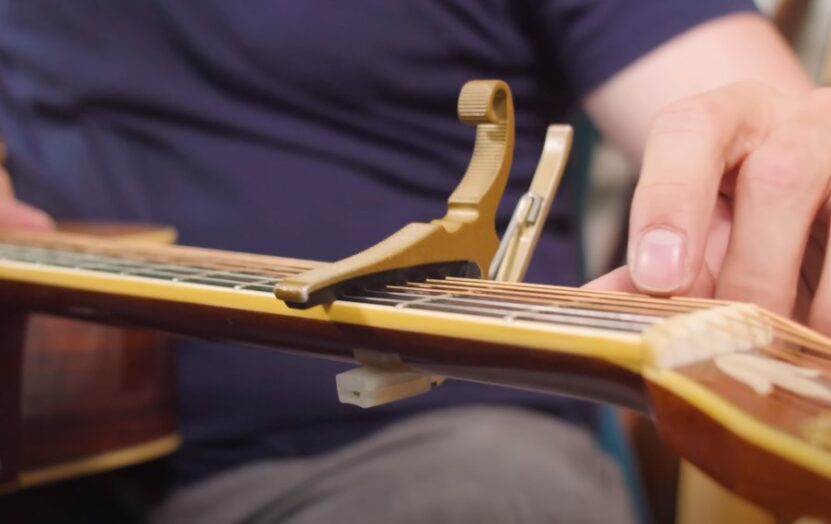
Next, we’ll measure the neck relief, or how much the neck bows forward. Place a capo on the first fret to keep things in place. Then, press down the low E string where the neck meets the body (around the 14th fret).
With your other hand, check the gap between the bottom of the string and the top of the fret at about the 7th to 9th fret using your feeler gauges. A small gap, usually between 0.1 to 0.3 mm, is what you’re aiming for. If the gap is off, it’s time to adjust the truss rod.
Step 3: Decide the Direction
Now, let’s figure out which way to turn the wrench:
- Tighten the Truss Rod (Clockwise): This pulls the neck backward, reducing relief and lowering the action. If the strings feel too high, this might be the way to go.
- Loosen the Truss Rod (Counterclockwise): This allows the neck to bow forward, increasing relief. If you’re getting fret buzz, try loosening the truss rod.
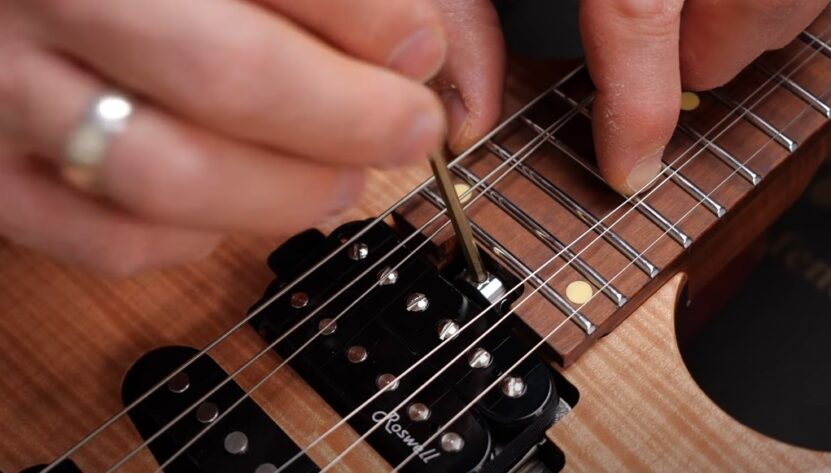
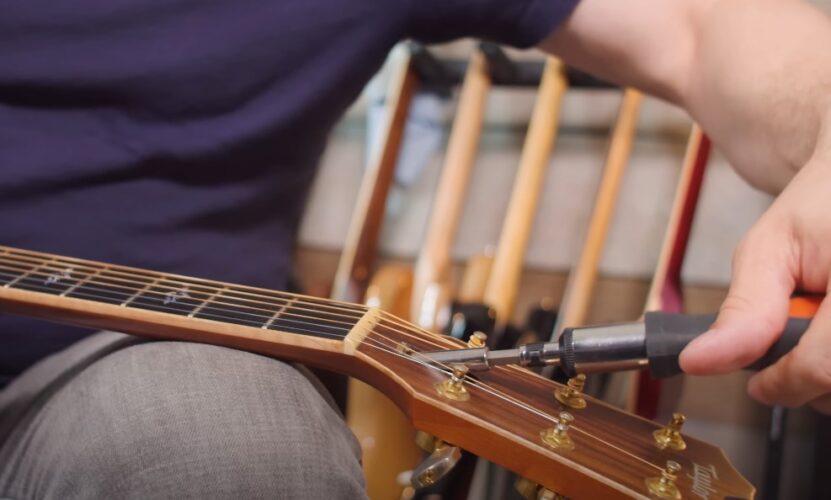
Step 4: Make the Adjustment
Ready to make the adjustment? Insert the wrench into the truss rod nut, usually found at the headstock or inside the soundhole near the neck joint.
- Small Turns Only: Turn the wrench in small increments, about a quarter turn at a time. This is important because even tiny adjustments can have a big impact. After each turn, go back and measure the neck relief again.
- Give It Time: Wood doesn’t always react instantly. After each adjustment, allow the neck a moment to settle before checking the relief again.
Step 5: Recheck the Relief
With the adjustments made, it’s time to measure the neck relief again. The goal is to find that sweet spot where the action is comfortable and the guitar plays without any buzz or excess strain.
- Gradual Adjustments: Make small, incremental adjustments to the truss rod to avoid over-correcting.
- Increasing Relief: If you need to increase the neck’s relief (creating a larger gap between the strings and the fretboard), turn the truss rod nut counterclockwise.
- Decreasing Relief: To decrease the relief (reducing the gap between the strings and the fretboard), turn the truss rod nut clockwise.
- Quarter-Turn Increments: It is recommended to adjust the truss rod in small, quarter-turn increments.
- Recheck the Relief: After each adjustment, recheck the relief to see if it has reached the desired level. This ensures the neck curvature is appropriate for your playing style.
- Repeat as Necessary: Continue the process of adjusting and checking the relief until the optimal neck relief is achieved.
Step 6: Test Play
Once you’re satisfied with the neck’s relief, play up and down the fretboard. Listen closely—any buzz? If it all sounds good, you’ve nailed the adjustment. If not, don’t worry, just go back and make a tiny tweak.
Additional Tips

A few extra tips to keep in mind as you work:
- Avoid Over-Tightening: Truss rods are powerful, but they’re not invincible. If you feel strong resistance when turning the wrench, stop immediately. Over-tightening can cause serious damage to the neck, which is an expensive mistake.
- Keep an Eye on the Weather: Guitars are sensitive to climate changes. Dry or humid conditions can affect the neck, requiring periodic adjustments. It’s a good idea to check your neck relief every few months or when you notice a change in how your guitar plays.
- Know When to Call a Pro: If you’re unsure or if the neck needs significant adjustment, it’s wise to take your guitar to a professional. Luthiers have the expertise and tools to make adjustments safely and accurately.
Wrapping It Up
Adjusting your truss rod might seem daunting at first, but with a little patience, it’s a skill that can save you a lot of time, money, and frustration in the long run. Plus, there’s something incredibly satisfying about taking control of your guitar’s playability.
By mastering truss rod adjustments, you’ll not only improve your guitar’s feel and sound, but you’ll also gain a deeper connection with your instrument. And that, my friend, is what playing guitar is all about.